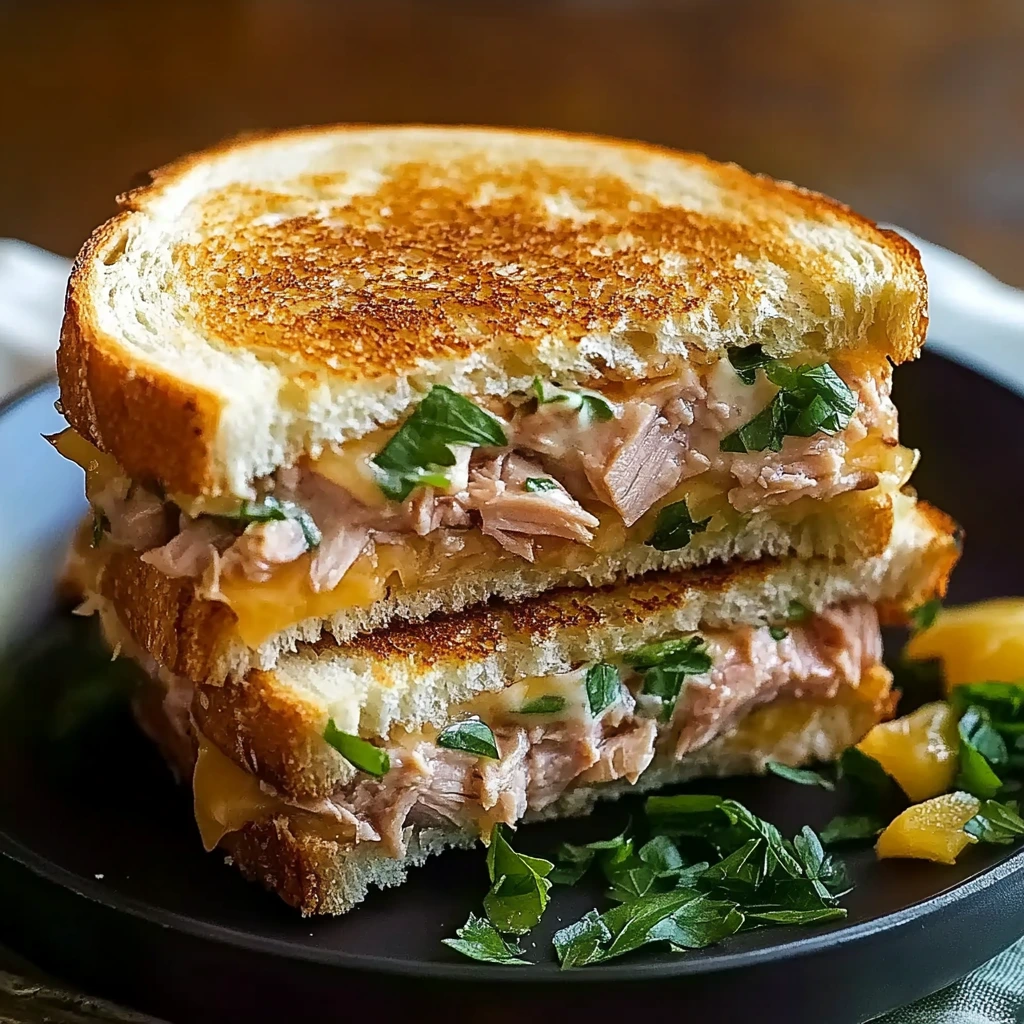
There’s nothing quite like a Tuna Melt Grilled Sandwich—crispy golden bread, creamy, tangy tuna salad, and gooey melted cheese all grilled to perfection. It’s the kind of comfort food that hits every craving in just one bite. Whether you’re looking for a quick lunch, a no-fuss dinner, or a nostalgic throwback to childhood favorites, this tuna melt will quickly become your go-to recipe.
Why You’ll Love This Tuna Melt Grilled Sandwich Recipe
This recipe is for anyone who wants an easy, satisfying meal that tastes like it came straight out of a cozy diner kitchen. It’s ideal for:
-
Busy home cooks who want dinner on the table in under 30 minutes
-
Sandwich lovers seeking the ultimate melt experience
-
Budget-conscious foodies using pantry staples for delicious results
-
Parents needing kid-friendly, customizable options
-
Students or solo diners wanting something quick, tasty, and filling
With just a few everyday ingredients—think canned tuna, mayo, and bread—you’ll create a melty masterpiece that’s crispy on the outside and creamy on the inside.
Ingredients You’ll Need
Here’s everything you’ll need to make these dreamy grilled sandwiches:
-
2 cans (5 oz each) tuna, drained
-
1/4 cup mayonnaise
-
1 tsp Dijon mustard
-
1/4 cup celery, finely chopped
-
2 tbsp red onion, finely chopped
-
1/2 tsp salt
-
1/4 tsp black pepper
-
4 slices bread – sourdough, rye, or your choice
-
4 slices cheddar or Swiss cheese
-
2 tbsp butter, softened
This ingredient list is simple, but it packs a powerful punch of flavor and texture. The Dijon adds just the right tang, and the crunch from celery and onion provides contrast to the rich, creamy tuna.
Kitchen Equipment Needed
Before you get started, gather these essential tools:
-
Mixing bowl
-
Spoon or spatula
-
Cutting board and knife
-
Skillet or griddle
-
Spatula for flipping
-
Butter knife
You don’t need any fancy appliances for this one—just good old-fashioned stovetop cooking and your favorite nonstick skillet.
How to Make Tuna Melt Grilled Sandwiches
Here’s how to whip up these crave-worthy melts in under 20 minutes.
Step 1: Make the Tuna Filling
In a medium mixing bowl, combine the drained tuna, mayonnaise, Dijon mustard, chopped celery, chopped red onion, salt, and black pepper. Stir until everything is evenly mixed.
Step 2: Build the Sandwich
Lay out your four slices of bread. Spoon the tuna mixture evenly onto two of the slices. Top each with a slice of cheese (cheddar or Swiss). Add the remaining slices of bread to form two sandwiches.
Step 3: Butter and Grill
Spread softened butter on the outsides of each sandwich. Heat your skillet or griddle over medium heat. Place the sandwiches in the pan and grill for 3–4 minutes per side, pressing down gently with a spatula, until the bread is golden brown and the cheese is beautifully melted.
Step 4: Serve and Enjoy
Remove from heat, slice in half, and serve immediately while warm and gooey.
Tips and Tricks for the Best Tuna Melt
-
Use high-quality tuna: Solid white albacore tuna tends to give the best texture and flavor.
-
Customize your cheese: Swiss cheese adds a nutty richness, while sharp cheddar brings bold tang. Pepper Jack adds heat.
-
Bread matters: Sourdough gives a nice tang and crunch. Rye brings complexity. Even multigrain can add nuttiness.
-
Butter generously: Don’t skimp—it helps get that irresistible golden crust.
-
Press your sandwich: Use a spatula or even a second skillet to press down the sandwich slightly while grilling. It helps the cheese melt evenly and the bread toast perfectly.
Recipe Swaps and Variations
-
Add tomatoes: A couple of tomato slices inside the sandwich add juiciness and freshness.
-
Spice it up: Mix a pinch of cayenne or hot sauce into the tuna salad.
-
Go herby: Add chopped parsley or dill for an herbaceous twist.
-
Avocado melt: Layer avocado slices beneath the cheese for extra creaminess.
-
Tuna Melt Wrap: Use a tortilla instead of bread and cook it like a quesadilla.
-
Low-carb option: Serve the tuna salad over grilled portobello mushrooms or large zucchini slices instead of bread.
Storing Leftovers
If you’ve got leftover tuna salad, store it in an airtight container in the refrigerator for up to 3 days. Just don’t assemble and grill the sandwiches until ready to eat, as the bread can become soggy.
If you’ve already grilled the sandwiches, wrap them tightly in foil and store in the fridge. Reheat in a skillet over low heat or in a toaster oven to keep the bread crispy.
Perfect Pairings
To make your Tuna Melt Grilled Sandwich a full meal, here are some tasty pairing suggestions:
-
Soup: Tomato basil or creamy potato soup complements the richness beautifully.
-
Salad: A crisp green salad with lemon vinaigrette cuts through the creaminess.
-
Chips or fries: Classic and satisfying. Try kettle chips or sweet potato fries.
-
Pickles: A tangy dill spear adds a crunchy contrast.
-
Drink: Iced tea, a crisp lager, or a chilled white wine like Sauvignon Blanc are all great companions.
Frequently Asked Questions (FAQ)
Can I use canned salmon instead of tuna?
Absolutely! Canned salmon makes a great alternative if you prefer a different fish or want to change up the flavor.
What’s the best cheese for a tuna melt?
Cheddar and Swiss are traditional choices, but feel free to experiment with mozzarella, provolone, or even brie for something gourmet.
Can I make it dairy-free?
Yes—use a vegan mayo and dairy-free cheese, and butter the bread with a plant-based spread.
Is this recipe freezer-friendly?
It’s not ideal to freeze already-assembled sandwiches due to the mayonnaise-based filling. However, you can freeze the tuna mixture separately and make the sandwiches fresh when ready.
How can I make it healthier?
Use Greek yogurt instead of mayo, whole grain bread, and reduce the cheese portion. Add in extras like spinach or arugula for fiber and nutrients.
Final Thoughts
Tuna Melt Grilled Sandwiches are a classic comfort food that’s stood the test of time—and for good reason. They’re easy, fast, budget-friendly, and packed with bold flavor and satisfying textures. Whether you’re feeding your family or whipping up a solo snack, this recipe is sure to be a hit.
Love this recipe? Share it with your friends and subscribe to the blog for more crave-worthy recipes, kitchen tips, and gourmet inspiration delivered straight to your inbox. Let’s keep the melty magic going!