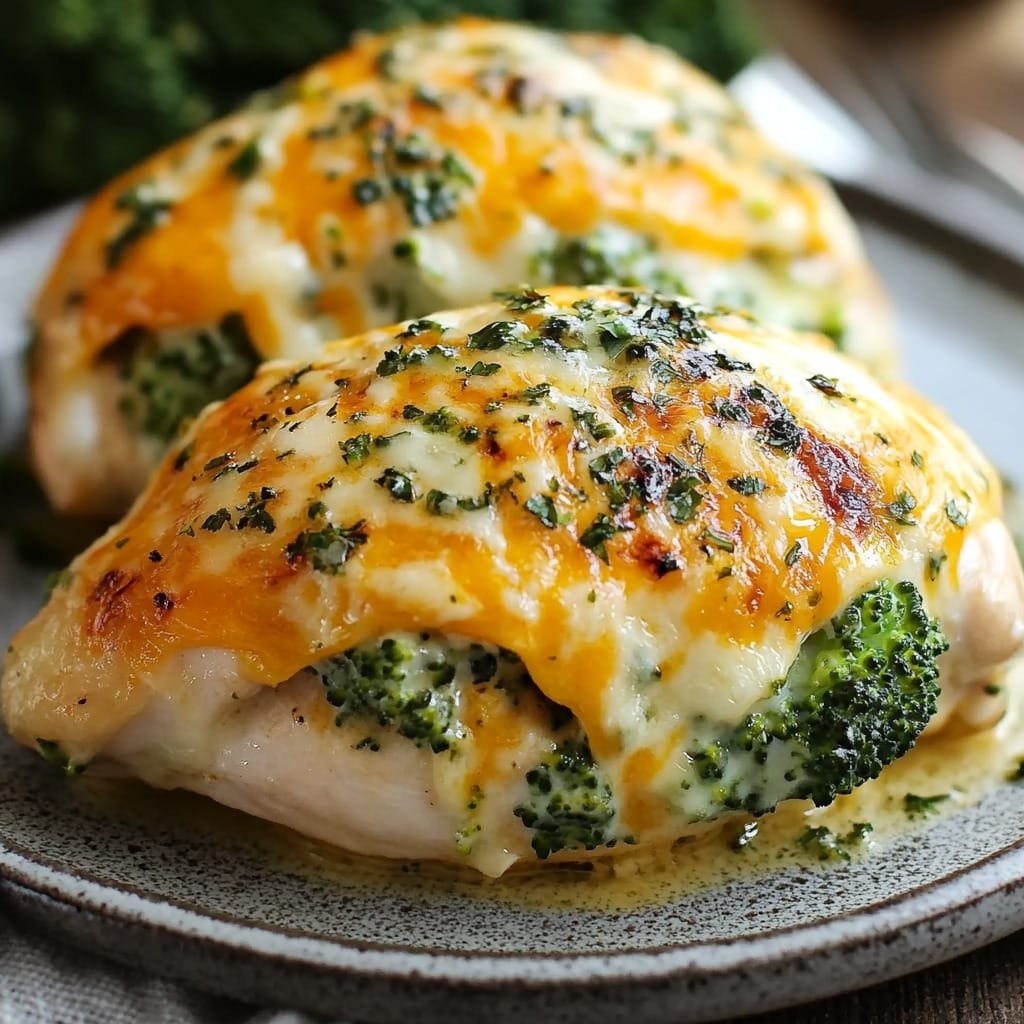
There’s something undeniably satisfying about slicing into a perfectly cooked chicken breast only to reveal a melty, savory surprise inside. That’s the experience you get with this Broccoli Cheddar Stuffed Chicken—a dish that looks fancy enough for guests, yet is simple enough to whip up on a weeknight. Packed with tender broccoli, creamy cheddar and cream cheese, and juicy seasoned chicken, this meal is both comforting and nutritious.
Why You’ll Love This Broccoli Cheddar Stuffed Chicken
-
Protein-Packed and Low-Carb: This meal is great for anyone looking to fuel up with high protein and low carbs, especially those on keto or low-carb plans.
-
Family-Friendly: Even picky eaters can get behind the cheesy goodness hidden inside the chicken. It’s also a great way to sneak in some veggies.
-
Easy and Elegant: It feels like a gourmet dish, but it’s ready in under 40 minutes with minimal effort.
-
One-Pan Wonder: Sear it on the stove, finish in the oven—all in one oven-safe skillet.
Ingredients You’ll Need
Here’s what you need to make this cheesy, satisfying dish:
-
1.5 lbs boneless, skinless chicken breasts (about 3–4 pieces)
-
Salt, pepper, garlic powder, paprika, and Italian seasoning for seasoning
-
1 Tbsp olive oil
-
1 cup chopped broccoli florets (fresh is best, but frozen works too)
-
1 cup shredded cheddar cheese
-
¼ cup cream cheese
Kitchen Equipment You’ll Need
Before you get started, gather the following tools:
-
Sharp knife for slicing the chicken
-
Cutting board
-
Mixing bowl
-
Measuring spoons and cups
-
Oven-safe skillet (cast iron or stainless steel preferred)
-
Toothpicks (to secure the stuffed chicken)
-
Meat thermometer (optional but recommended)
Step-by-Step Instructions
1. Preheat and Prep
Preheat your oven to 375°F (190°C).
Take your chicken breasts and, using a sharp knife, slice them horizontally to create a pocket. Be careful not to cut all the way through—you want to create a pocket that can hold the filling.
2. Season the Chicken
Season both sides of the chicken and the inside of the pocket with salt, pepper, paprika, and half of the garlic powder. Feel free to sprinkle a bit of Italian seasoning for extra flavor.
3. Make the Filling
In a mixing bowl, combine:
-
1 cup chopped broccoli florets
-
1 cup shredded cheddar cheese
-
¼ cup cream cheese
-
Remaining garlic powder
-
Salt and pepper to taste
Mix until everything is well combined. The cream cheese should help bind the filling and add a delicious creamy texture.
4. Stuff the Chicken
Use a spoon to fill each chicken pocket generously with the broccoli cheese mixture. Don’t overstuff! Use toothpicks to secure the opening and prevent the filling from spilling during cooking.
5. Sear to Lock in Flavor
Heat 1 tablespoon of olive oil in your oven-safe skillet over medium-high heat. Sear the chicken breasts for 2-3 minutes on each side, or until they’re golden brown. This adds depth of flavor and helps seal the edges.
6. Bake to Finish
Transfer the skillet to your preheated oven and bake for 15-17 minutes, or until the chicken reaches an internal temperature of 165°F (74°C).
7. Rest, Remove Toothpicks, and Serve
Allow the chicken to rest for 5 minutes, then remove the toothpicks. Serve hot, ideally with a side or two (suggestions below).
Pro Tips for Success
-
Use room temperature cream cheese to make the filling easier to mix.
-
Pound the chicken lightly before slicing if the breasts are uneven in thickness.
-
Frozen broccoli can be used, but make sure to thaw and pat it dry to avoid a watery filling.
-
Secure with toothpicks at an angle to hold the filling inside without tearing the chicken.
Variations and Swaps
Feeling creative? Try these fun twists:
-
Swap Cheddar for Mozzarella or Pepper Jack: Spice things up or add a gooey stretch factor.
-
Add Bacon: Crumble in some cooked bacon bits for a smoky depth of flavor.
-
Use Spinach Instead of Broccoli: A great way to use up greens you have on hand.
-
Stuff with Mushrooms or Bell Peppers: For added umami or sweetness.
-
Make it Spicy: Add a dash of red pepper flakes to the filling or use spicy cheddar.
What to Serve With Broccoli Cheddar Stuffed Chicken
This chicken is rich and flavorful, so it pairs well with lighter sides:
-
Garlic sautéed green beans
-
Cauliflower mash
-
Roasted Brussels sprouts
-
A fresh garden salad with lemon vinaigrette
-
Quinoa or wild rice (for non-low-carb diners)
Drink Pairings:
-
White wine like Chardonnay or Sauvignon Blanc
-
Light beer or pale ale
-
Sparkling water with lemon or cucumber for a refreshing non-alcoholic option
How to Store & Reheat Leftovers
Got leftovers? Here’s how to keep them fresh and tasty:
-
Storage: Place leftovers in an airtight container and refrigerate for up to 3–4 days.
-
Freezing: Wrap individually and freeze for up to 2 months. Thaw in the fridge overnight.
-
Reheat: Warm in a 350°F oven for 10–15 minutes or microwave in 1-minute intervals until hot. Cover with foil or a damp paper towel to retain moisture.
Frequently Asked Questions (FAQ)
Can I use chicken thighs instead of breasts?
Yes! Boneless, skinless chicken thighs work too. They may be smaller, so adjust the filling and cooking time accordingly.
Can I make this ahead of time?
Definitely. You can prep and stuff the chicken a few hours in advance, keep it covered in the fridge, and sear + bake when you’re ready to eat.
What can I use instead of cream cheese?
Try mascarpone, ricotta, or even a little sour cream for a tangy twist.
How do I know when the chicken is done?
Use a meat thermometer to ensure the thickest part of the chicken hits 165°F (74°C). If you don’t have one, make a small cut to check that the juices run clear.
Is this recipe gluten-free?
Yes! All the ingredients listed are naturally gluten-free. Just double-check any packaged cheese or seasoning blends to be sure.
Final Thoughts
This Broccoli Cheddar Stuffed Chicken is everything you want in a go-to dinner—easy, flavorful, satisfying, and just a little bit indulgent. Whether you’re serving it on a weeknight or for guests, it’s bound to get rave reviews.
If you loved this recipe, don’t forget to share it with your friends or save it to your favorite recipe board! Hungry for more delicious, easy-to-follow meals? Subscribe to the blog for weekly kitchen inspiration and exclusive tips delivered straight to your inbox.
Happy cooking!